Repository Creation Utility (RCU)
In 12c, RCU is available with the Oracle Fusion Middleware Infrastructure distribution.
Starting RCU
After you install Oracle Fusion Middleware Infrastructure
and create your Oracle home, you can start RCU from the
ORACLE_HOME/oracle_common/bin directory.
Creating Schemas
Follow these instructions to create schemas in the database and verify that they are installed properly.
cd $ORACLE_HOME/oracle_common/bin
./rcu
This screen below introduces you to RCU.

Click Next
Select Create Repository, then select System Load and
Product Load.

Specify your database connection credentials.

Provide all details like Hostname (it should be fully qualified domain name)
Port Number
Service name
username (sys)
password
Choose sysdba from the options
Click Next when you have specified your credentials. A separate dialog window appears while RCU checks connectivity and the database prerequisites. When the database checking has passed without errors, click OK to dismiss the dialog window and go to the next screen.

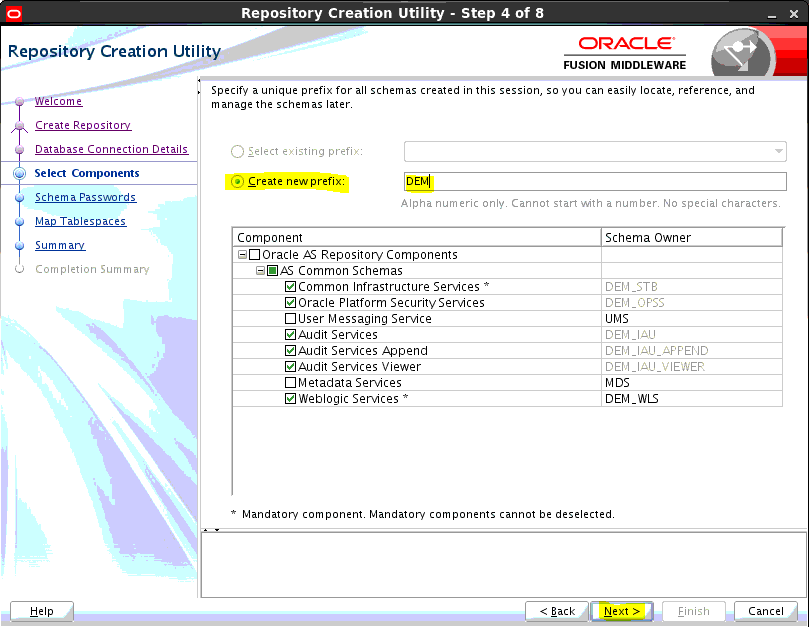
Select the components for which you want to create schemas,
and specify a prefix to group them together.
You must remember the prefix and schema names for the
components you are installing; you need this information during the
configuration phase of your product installation. Oracle recommends that you
write down these values.

Specify the passwords for your schema owners.
You must remember the passwords you enter on this screen; you
need this information during the configuration phase of your product
installation. Oracle recommends that you write down these values.

Click Next
Use this screen to configure the desired tablespace mapping
for the schemas that you want to create.
When you click Next,
a separate dialog window appears asking you to confirm that you want to create
these tablespaces. Click OK to
proceed and dismiss the dialog window.
A second dialog window appears showing the progress of
tablespace creation. After the tablespaces are created, click OK to dismiss this window and go to
the next screen.


Verify the information on this screen, then click Create to begin
schema creation.


Review the information on this screen to verify that the
operation was completed successfully. Click Close to complete the
schema creation and dismiss RCU.

No comments:
Post a Comment